Create VM Images in Azure Automatically Using Packer
Today I wanted to try to create an image in Azure that can be used by virtual machines that I create in Azure. I decided that I was going to use Packer, a software that was created by HashiCorp. More information about Packer can be found at Link to Packer.
Prerequisites
- A Azure account (If you don’t have a free account, this will cost some money)
- An Azure DevOps account
- A service connection from Azure DevOps to Azure. You need to know the secret to this.
Initial config
Start with creating a new repository in Azure DevOps. When it is created, clone it to your computer and open it up in your favourite editor. Then go to Azure DevOps go to the marketplace, and install the Packer extension. Now you should be set for starting this project.
Packer config file
First, create a folder in your repository called packer. You do not need to do this, but since I am planning on using for example Terraform to provision a virtual machine using this image later, I like to have it separated into two different folders. In the packer folder you created, create a file with the ending ‘pkr.hcl’. I have called mine for windows-image.pkr.hcl In this file you need three parts.
Packer
The first part is the packer part, where you define your plugins. For example if you are using Azure it will look something like this:
packer {
  required_plugins {
    azure = {
      source = "github.com/hashicorp/azure"
      version = "~>2.0.4"
    }
  }
}
Source
The second part will be the source part, where you define what type of image you want to create. It will look something like this:
source "azure-arm" "base" {
  os_type = "Windows"
  image_publisher = "MicrosoftWindowsServer"
  image_offer = "WindowsServer"
  image_sku = "2022-datacenter"

  managed_image_name = "${var.managed_image_name}-${local.timestamp}"
  managed_image_resource_group_name = "${var.managed_image_resource_group_name}"

  location  = "${var.location}"
  client_id = "${var.client_id}"
  client_secret = "${var.client_secret}"
  subscription_id = "${var.subscription_id}"

  communicator = "winrm"
  winrm_use_ssl = "true"
  winrm_insecure = "true"
  winrm_timeout = "3m"
  winrm_username = "packer"

  vm_size = "Standard_B1ms"
}
Provisioner
The last part is what you want to do with the image before it is created. This part is called provisioner. I would like to create an image that had putty, vscode, and winget installed. My provisioner part looked like this:
build {
  sources = ["source.azure-arm.base"]

  provisioner "powershell" {
    inline = [
      "Set-ExecutionPolicy Bypass -Scope Process -Force; [System.Net.ServicePointManager]::SecurityProtocol = [System.Net.ServicePointManager]::SecurityProtocol -bor 3072; iex ((New-Object System.Net.WebClient).DownloadString('https://community.chocolatey.org/install.ps1'))",
    ]
  }

    provisioner "powershell" {
    inline = [
      "choco upgrade winget.powershell -y",
      "choco upgrade putty -y",
      "choco upgrade vscode -y",
    ]
  }

  provisioner "powershell" {
    inline = [
        "# If Guest Agent services are installed, make sure that they have started.",
        "foreach ($service in Get-Service -Name RdAgent, WindowsAzureTelemetryService, WindowsAzureGuestAgent -ErrorAction SilentlyContinue) { while ((Get-Service $service.Name).Status -ne 'Running') { Start-Sleep -s 5 } }",

        "& $env:SystemRoot\\System32\\Sysprep\\Sysprep.exe /oobe /generalize /quiet /quit /mode:vm",
        "while($true) { $imageState = Get-ItemProperty HKLM:\\SOFTWARE\\Microsoft\\Windows\\CurrentVersion\\Setup\\State | Select ImageState; if($imageState.ImageState -ne 'IMAGE_STATE_GENERALIZE_RESEAL_TO_OOBE') { Write-Output $imageState.ImageState; Start-Sleep -s 10  } else { break } }"
    ]
  }
}
Variables
Now add all the variables to the file. Mine variables look like this:
variable "client_id" {
  type =  string
  default = "$(client_id)"
  sensitive = true
}
variable "client_secret" {
  type =  string
  default = "$(client_secret)"
  sensitive = true
}
variable "subscription_id" {
  type =  string
  default = "$(subscription_id)"
  sensitive = true
}
variable "tenant_id" {
  type =  string
  default = "$(tenant_id)"
  sensitive = true
}
variable "object_id" {
  type =  string
  default = "$(object_id)"
  sensitive = true
}
variable "location" {
  type =  string
  default = "norwayeast"
  sensitive = true
}
variable "managed_image_name" {
  type =  string
  default = "win-server-2022"
  sensitive = true
}
variable "managed_image_resource_group_name" {
  type =  string
  default = "win-server-images"
  sensitive = true
}
Additionally, I have also a local variable in the config file that is creating the current date and time for when the image is created:
locals {
  timestamp = regex_replace(timestamp(), "[- TZ:]", "")
}
Azure DevOps pipeline
In your repository, go to the pipeline part in the menu on the left side of your screen and the Library part. Create a new Library with 5 variables/secrets.
| secret variable name: | Description: |
|---|---|
| client_id | Client id of the service principal you are using |
| client_secret | The client secret of the service principal you are using |
| subscription_id | Your Azure subscription id |
| tenant_id | Your Azure tenant id |
| object_id | Client object of the service principal you are using |
WARNING: Be aware that two different syntaxes are used for variables from Azure DevOps and variables used in the packer config file.
Now you can create a pipeline. This is the pipeline I am using:
trigger:
- main

pool:
  name: 'Homelab'

variables:
  - group: packer

jobs:
  - job: Packer
    displayName: Packer

    steps:
    - task: PackerTool@0
      inputs:
        version: '1.10.1'

    - checkout: self
      clean: true
      persistCredentials: true
      displayName: 'Checkout $(Build.Repository.Name)@$(Build.SourceBranch)'

    - task: Packer@1
      inputs:
        connectedServiceType: 'azure'
        azureSubscription: 'service-connection-to-sandbox-manual-sp'
        templatePath: '$(System.DefaultWorkingDirectory)/packer/windows-image.pkr.hcl'
        command: 'init'
      displayName: "packer init"

    - task: Packer@1
      inputs:
        connectedServiceType: 'azure'
        azureSubscription: 'service-connection-to-sandbox-manual-sp'
        templatePath: '$(System.DefaultWorkingDirectory)/packer/windows-image.pkr.hcl'
        command: 'validate'
      displayName: "packer validate"

    - task: Packer@1
      inputs:
        connectedServiceType: 'azure'
        azureSubscription: 'service-connection-to-sandbox-manual-sp'
        templatePath: '$(System.DefaultWorkingDirectory)/packer/windows-image.pkr.hcl'
        command: 'build'
      displayName: "packer build"
When you try to run the pipeline, you will be asked to give it permission to use the service connection and if you have a self-hosted runner/agent you need to give it access to the repository.
The result
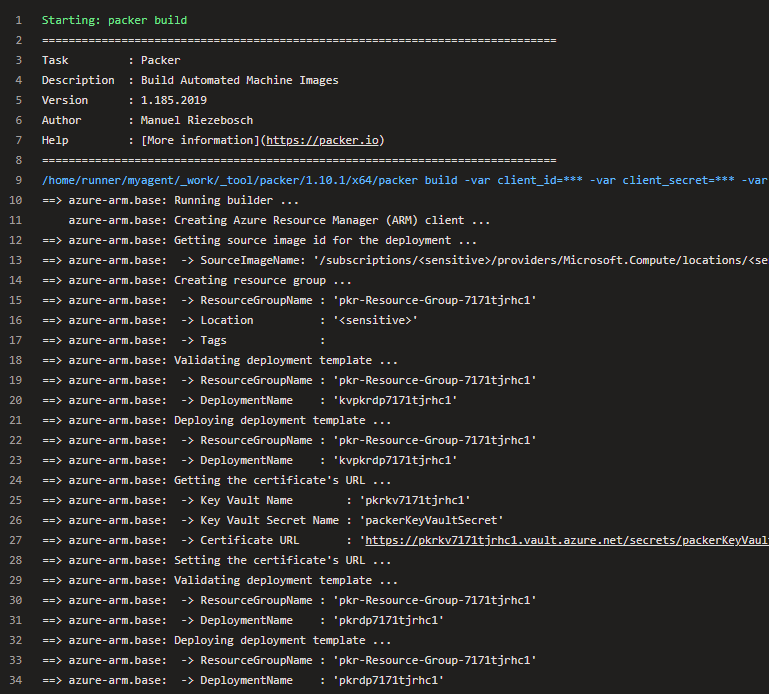
When the pipeline is run you should see that Packer is creating some temporary resources in Azure:
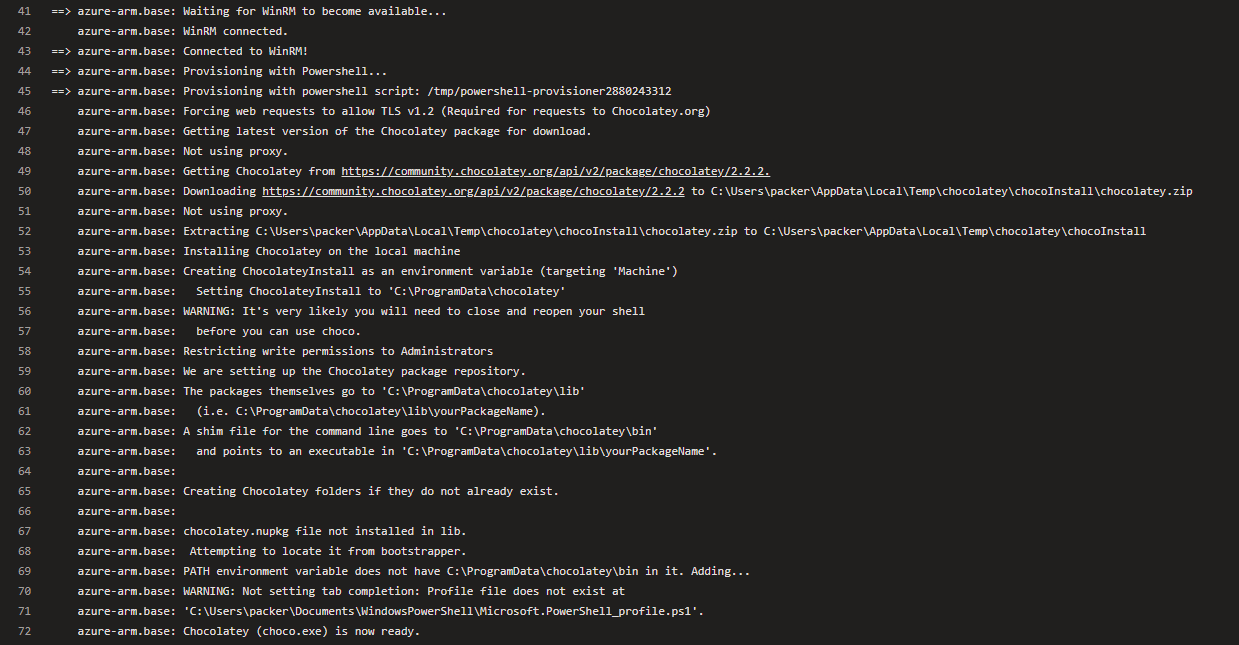
Later in the pipeline, you will see that it is starting to provision with Powershell and it is successfully installing chocklatey for example:
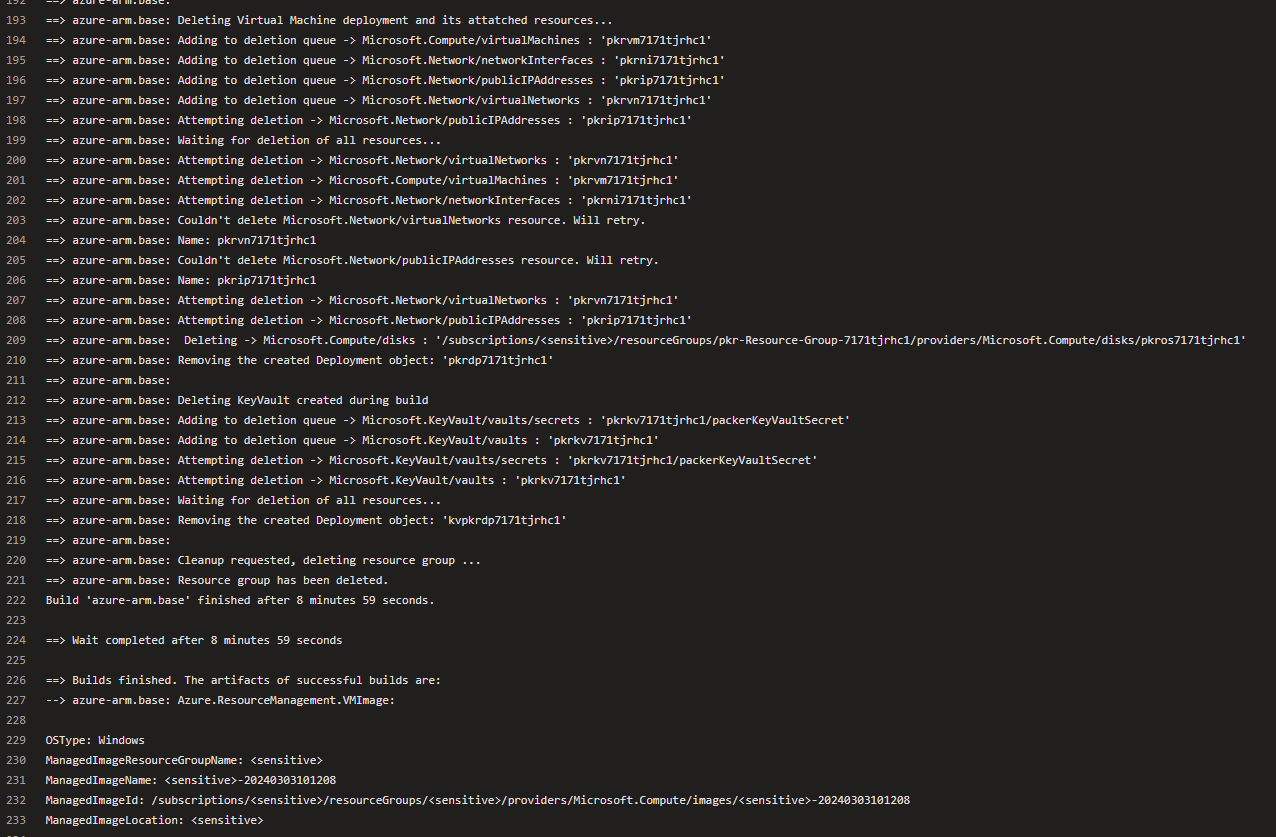
At the end of your pipeline, you will see that Packer is cleaning (deleting) up the temporary resources it created in Azure:
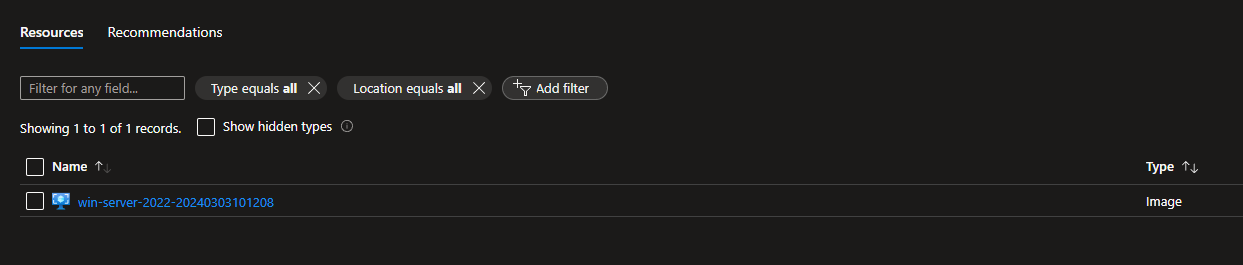
The whole process takes about 8 to 10 minutes, and the result can be seen in the resource group you named in the Packer config file:
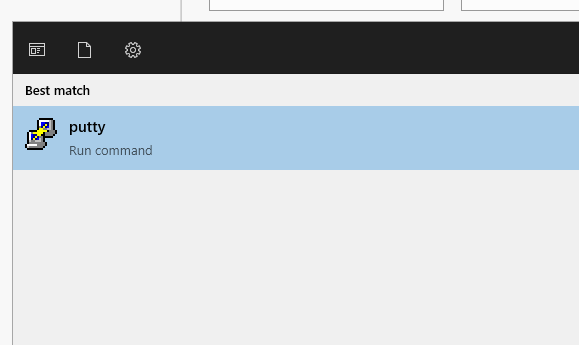
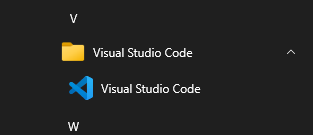
Just to check if my image is working like I wanted, I created a virtual machine using the image. I can see that both putty and vscode are installed:
Cost
When the image is created you only pay for the storage of the image. Do not forget to delete the image manually if you do not intend on using it, since storing it will cost some money. When I was playing around with Pakcer, I created about 10 different images and deleted them regularly during the time I was playing around, it cost me about 1 NOK, or about $0,1 (excluding the cost for the virtual machine I created just to see if it worked like I wanted.).
Conclution
I did struggle a lot with the provisioner part of the Packer config file. At first, I did try to install winget to install the other applications that I wanted to test with, but I ended up using chocolatey instead. The documentation for Packer could have been better. I struggled to find a full config file, and an Azure DevOps pipeline that was recently created, but it could be that I wasn’t looking in the correct spot in the documentation.
Most likely there will be a part 2 of this, where I also include Terraform into this project.