Home Server Ssl Setup
I have had my home server running for multiple years now, and have always used self signed certificates for the services I run on it (none are public available). In my summer hollidays this year it was the time to stop doing that and setup “real” certificates for the services. In this blog post I will show how i did it, with my Home Assistant service.
I will be using the following services:
- Cloudflare (for the domain)
- Let’s Encrypt (for the SSL certificate)
- Home Assistant (locally run Home Assiste on a Raspberry Pi3)
- Nginx Proxy Manager (locally run in portainer, virtualized on a XCP-NG server)
- PiHole (locally on a virtualized VM on XCP-ng)
Configuration of services like portainer, Home Assistant etc. are not included in this blog. If you use something else, you are on your own :-).
Domain and SSL certificate
I did buy a domain on Cloudflare that I’m using for my internally run services I have. Since all the services I run internally are not accessible from the internet, I’m going to use a wildcard certificate. When using Nginx Proxy Manager i need to have a DNS Challenge from Cloudflare. It can be optained from Cloudflare Dashboard:
- Login to your Cloudflare Dashboard.
- Click on the domain you have that you want to use.
- Goto “Get your API token” a little bit down on the right side of the page and generate a new token.
- Make sure you configure your token to have permission to edit DNS and all zones.

- Copy the token and create a new SSL certificate in Nginx Proxy Manager
- In Domain Names type
*.<YOUR DOMAIN> - Click on “Use a DNS Challenge” and choose Cloudflare in the “DNS Provider” dropdown menu.
- Past the token after “dns_cloudflare_api_token” in the “Credentials File Content” field.
- Agree to the Let’s Encrypt Terms of servie and save.
- There will go some time before the SSL certificate is ready (minutes)
Configure Nginx Proxy Manager
Add a new proxy host. In the “details” tab:
- In the “Domain Names” add the domain you want to use. F.eks:
homeassistant.<YOUR DOMAIN>. - Scheme:
http - Forward Hostname / IP:
<the IP home assistant uses> - Forward Port:
<8123> - Make sure that “Websockets Support” is clicked. (It will not work without)
In the SSL tab:
- SSL Certificate: Choose the sertificate you did create a little earlier.
- Make sure “Force SSL” and “HTTP/2 Support” is clicked.
- Click save
PiHole DNS config
I use PiHole as a DNS server for my home network, so I need to add a DNS record in PiHole.
- Goto “Local DNS” and then “DNS Record”
- Add the domain used when you configured your proxy host in the previous section and the Nginx Proxy Managers as the IP.
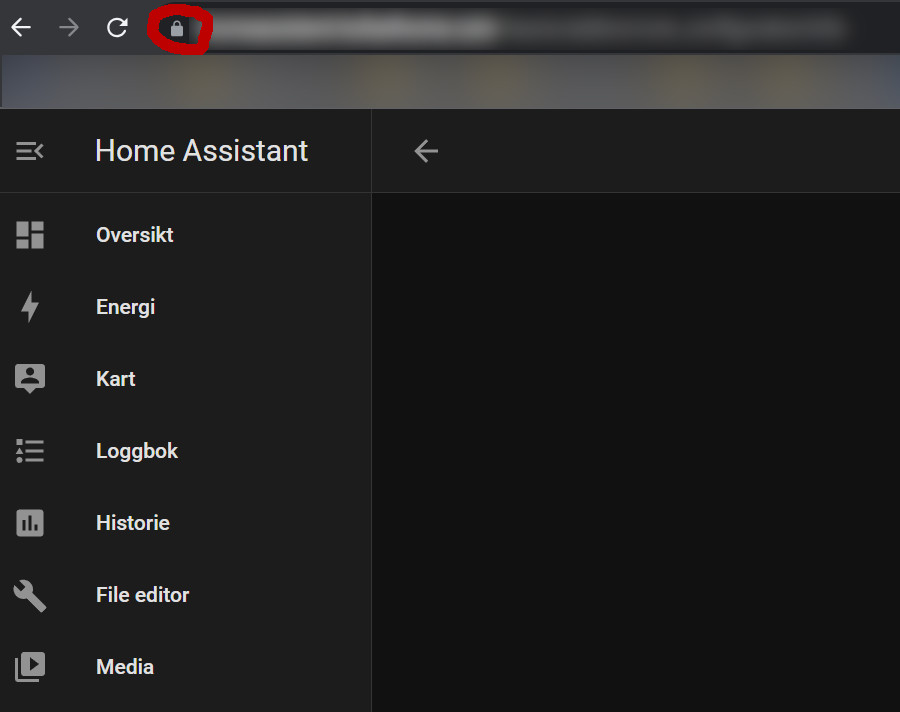
If you try to goto the domain you created earlier (homeassistant.<YOUR DOMAIN>), you will get an error. And the reason is that you need to configure Home Assistant to trust the proxy server.
Configure Home Assistent to trust the proxy server
You need to be able to edit files on your Home Assistant server. Either with SSH or in-browser editor. F.eks File editor:
 To install File editor, goto addons and search for “File editor”. (If you click on the “File editor” icon in the addon meny after you installed it, there is an option to show “File editor” in the side bar. It requires some extra RAM usage.)
You need to open the file config/configuration.yaml.
Add (replace the IP to the proxy, with your Nginx Proxy Manager IP):
http:
  use_x_forwarded_for: true
  trusted_proxies:
    - 192.168.1.180
Restart your Home Assistant and you will be able to use the domain you set up and have SSL.